My mom has always had a rhubarb plant in the backyard for as long as I can remember. Never once has it waned in producing hearty amounts of rhubarb. (This is a plant that you may not be able to kill … which is good news for me!)
Growing up, my sisters and I enjoyed using the discarded rhubarb leaves in our treehouse kitchen, mixing them with sand and dirt for our pretend “wilderness stew”. Since it is recommended NOT to eat the leaves (which are considered poisonous), using them in our “nature stew” was perfectly fine.
Many people shy away from rhubarb because of its tart taste or because they feel that they need to add an excessive amount of sugar to the rhubarb to obtain a palatable end product. This however, is not true. Many rhubarb recipes could use half the amount of sweetener and still produce a tasty creation. There are also ways to naturally sweeten rhubarb, such as adding berries!
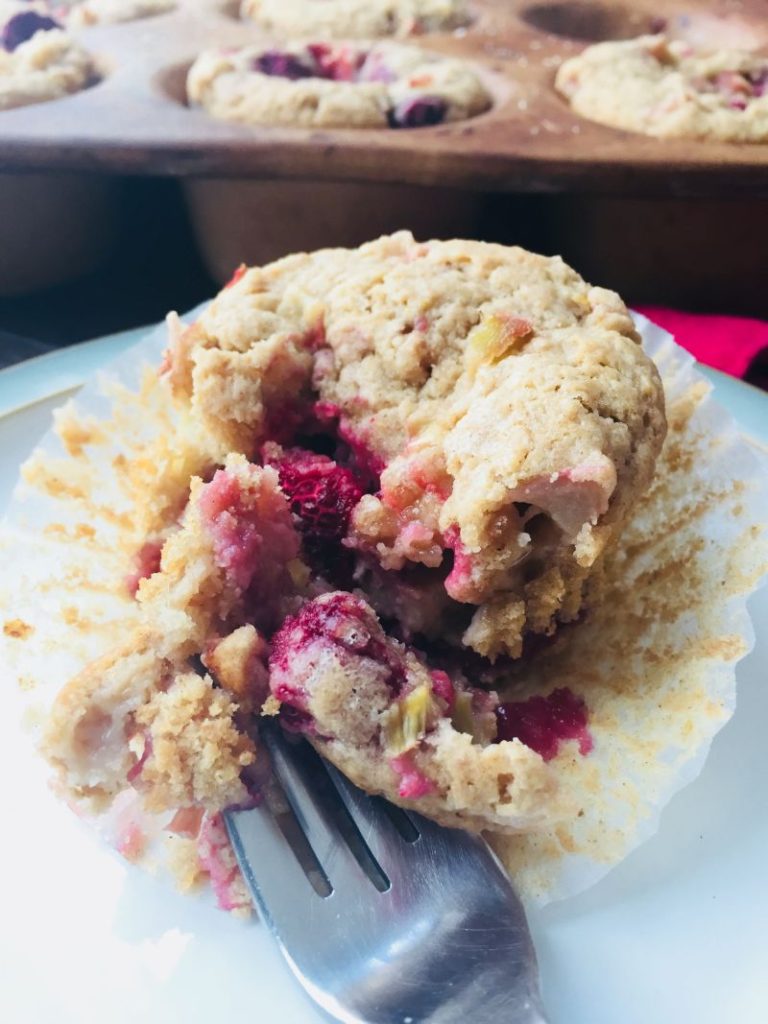
Rhubarb is in season from late spring to early summer, which happens to align perfectly with berry season. Adding berries to your rhubarb, whether in a crisp, pie, jam or muffins, makes for an extraordinary sweet/tangy combination!
This recipe is dairy-free, which was inspired by my sister-in-law and neighbour who both currently have babies with a cow’s milk protein allergy. For breast-feeding mamas, this means dairy (and soy) need to be eliminated from the mom’s diet in order to continue to breast-feed. This means switching from cow’s milk to a plant beverage.
When using almond beverage (or any other plant beverage) don’t forget to shake the container really well before pouring, since the calcium sits as a sediment at the bottom of the container and you won’t get any calcium unless you shake, shake, shake first!
A few other notes about this recipe:
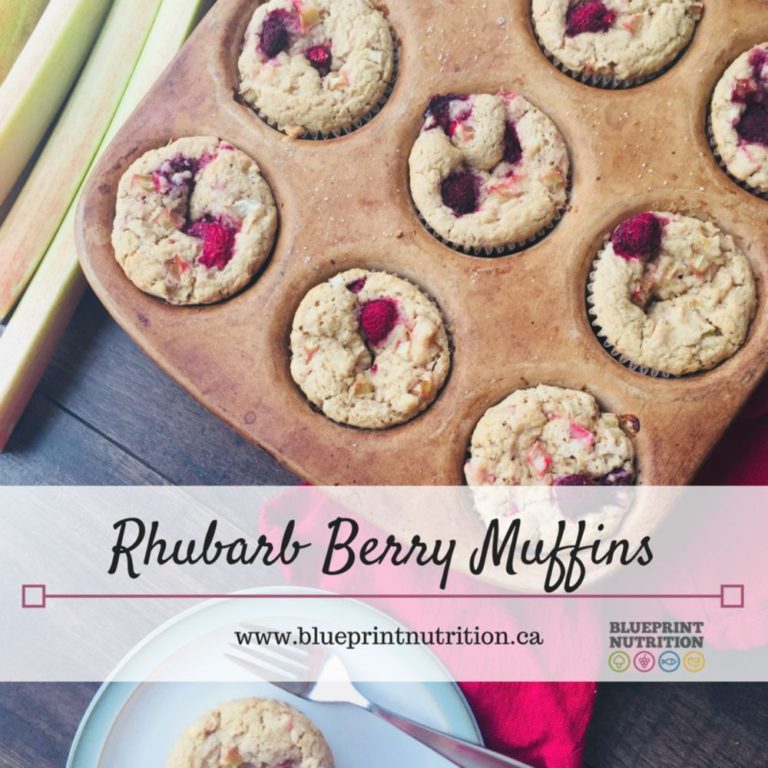
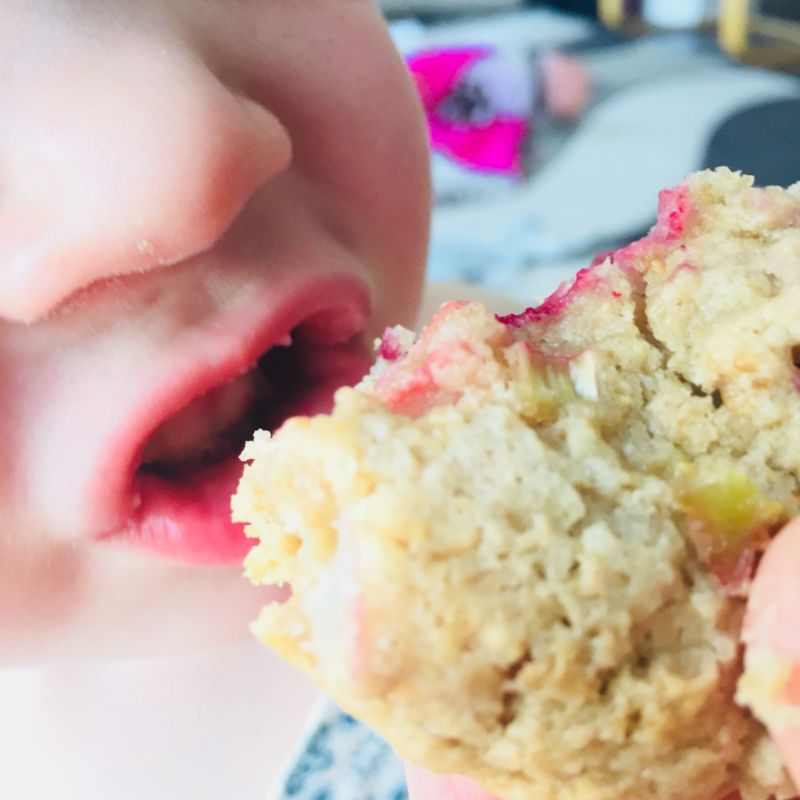
- You can use either strawberries or raspberries, fresh or frozen. If using frozen strawberries, ensure that they are sliced (not whole). The above photos were taken of a batch where I used frozen raspberries.
- A combination flour (rye/oat/barley) is used for this recipe, which I purchase at a local bulk food store. I have enjoyed the taste of this flour and the more delicate, crumbly texture that it produces due to the lower gluten content of the flour. I have also baked these muffins using half whole wheat and half spelt flour. Feel free to experiment and see what you like.
- I kept them nut-free since I can’t send nuts in my children’s lunchboxes. However, I think a ½ cup of slivered almonds or walnuts would taste scrumptious in the batter!
- I am obsessed with almond extract these days. If you don’t prefer the taste, feel free to substitute vanilla extract.
Raspberry Rhubarb Muffins
Yield 12 muffins
Ingredients:
- 2 cups rye/oat/barley flour mixture (or part whole wheat)
- 1/2 cup brown sugar or cane sugar
- ¼ cup flaxseed, milled and ground finely
- 2 teaspoons baking powder
- 1/2 teaspoon salt
- 1 cup unflavored, unsweetened almond or soy beverage
- 1/3 cup canola oil (look for cold-pressed, extra virgin)
- 1 egg, lightly beaten
- 1 teaspoon almond extract
- 1 cup fresh or frozen raspberries (or fresh slices strawberries)
- 1 cup finely chopped rhubarb, fresh or frozen and thawed
- 1/2 cup chopped walnuts (optional)
Directions:
- Preheat oven to 375°F. Fill the empty muffin pan with muffins liners.
- Combine the dry ingredients (flour, sugar, ground flaxseed, baking powder and salt) together in a large bowl. Set aside.
- In another smaller bowl, combine the wet ingredients (soy or almond beverage, oil, egg and almond extract).
- Pour the smaller bowl containing the wet ingredients into the larger bowl with the dry ingredients. Stir carefully until just blended.
- Carefully fold in the rhubarb and raspberries (or strawberries), trying hard not to overmix or to cause the berries to “bleed” their red pigment onto the batter.
- Equally portion the mixture into the lined muffin cups. The cups will be quite full, but should not be overflowing. If you’re feeling particularly sweet, you can sprinkle a pinch of sugar on top of each muffin.
- Place on the center rack in the oven and bake for 25-30 minutes, or until the muffins are lightly browned on top and a toothpick inserted into the center of a muffin comes out clean.
- Transfer the muffins to a cooling rack and allow to cool completely before removing from tins.
Take it one bite at a time,
Rosanne
